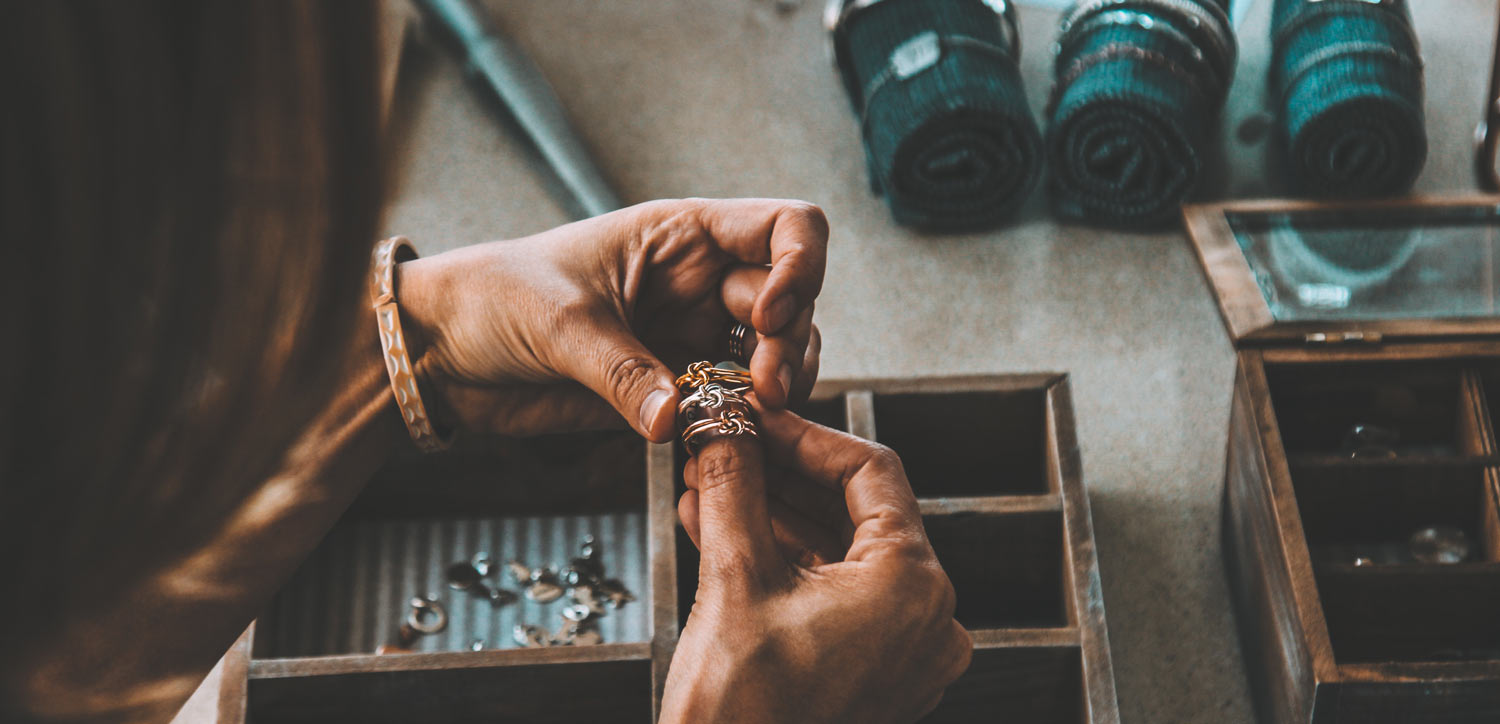
Silver is one of my favorite metals by far. Another newer favorite is rose gold… very trendy right now, so I may have to explore this media some more in a future blog post…
Did you know that sterling silver is actually a mix of metals. Fine silver on its own is too soft for most purposes. Sterling silver consists of 92.5% fine silver and 7.5% other metals, usually copper. You may recognize that some sterling silver pieces have a 925 stamp. Consequently, this comes from the amount of silver content in the metal.
Over time, sterling silver can get tarnished and lose a bit of its shine, but there is no need for panic – it is actually pretty easy to take care of. You just need to know a few tips and tricks and you should be good to go.
3 do-it-yourself silver cleaners
Inevitably, there comes a time when any piece of silver need a little touch up to get its sparkle back. A micro-fiber cloth is a great easy way to clean your silver if it is not too dirty. Just rub the silver piece with the cloth until the tarnish comes off.
The commercial silver cleaners that you purchase in the grocery store contain chemicals that are harsh on the jewelry. And furthermore, it is probably not putting a smile on Mother Earth’s wonderful face – so here are some “green” and natural alternatives that you can explore.
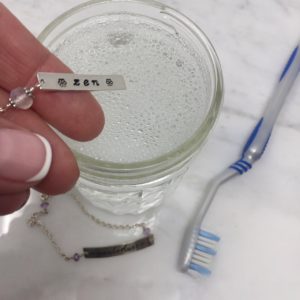
It is as simple as mixing some liquid soap with warm water and you have yourself a great eco-friendly cleaner!
#1 Liquid soap method
Mix a few drops of mild, liquid soap with warm water and dip in a soft clean cloth. Rub your silver with the cloth, then rinse the pieces in cold water and dry off with a dry towel. Get assistance from a tooth brush or Q-tip for difficult to reach areas.
#2 Salt water method
Cover a plate or pan with aluminum foil, shiny side of the foil up. Place your jewelry on the plate.
Combine the boiling water, salt and baking soda together. Pour the mixture into the pan or plate. Stir the solution with a spoon to break up any chunks of baking soda. Slowly add the distilled white vinegar. Bubbles will surface! Let the mixture sit for five to ten minutes. Remove the jewelry from the pan, rinse with water and dry off with a towel or cloth.
(Speaking of vinegar… it made me think of Apple Cider Vinegar, which comes with a million different health benefits. Writing this blog, it made me curious so I explored it some more and here is a link on the topic APV, that I enjoyed reading.)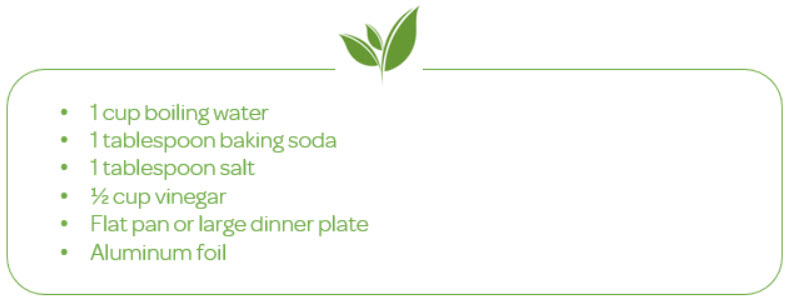
#3 Baking soda method
Create a paste with the baking soda and water. Dip your silver jewelry in water and then apply the paste and work it into the crevices. Use an old toothbrush or Q-tip to apply the DIY cleaner in gentle motions and movements.
By the way – did you know that there are a zillion uses for baking soda that has very little to do with baking? Check out more tips on baking soda here.

Care for your silver
Follow these simple every-day care instructions for your silver to make sure you look your Queen best with your bling at all times.
Be a queen – always shine!
- Keep it dry
Sterling silver actually does not tarnish from pure water. But the water we normally have around us is not purified – it has certain amounts on contaminants and chemicals in it, which is what is affecting the silver. Swimming pools and hot tubs have high levels of chlorine which is pretty harsh on jewelry in general, not just silver, so it is a good idea to remove before jumping in. If you forget, just rinse with water and dry after you get out. - Know when to take it off
The natural oils in your skin or lotions and creams can change the luster of your jewelry. As a practice, put your lotion on and let it absorb and dry before you put your jewelry on. This is especially important for rings. I have made a mess out of a few rings in my time as lotion gets into the nooks and crannies! It is good practice to take your jewelry off when you sleep, when you exercise, and if you are doing dishes or getting involved with chemicals and cleaning products. - Storage
If you store your jewelry out in the open air on a dresser or a table, it will be exposed to the sulfur in the air and tarnish quicker. In a perfect world you would keep each individual piece in an air-tight bag (like a tiny zip lock bag) together with a piece of anti-tarnish paper. Silica gel packages also prevents tarnishing, so you can put one of those little packages in with the jewelry to achieve the same thing. Whatever you do, and I am serious here – do not store your jewelry in a bundled mess in a drawer or in a bag or carry it around in your pocket. This will make your jewelry tangle together which can cause scratches and breaks. Besides, it is a time-consuming ordeal to untangle the piece that you want to wear!
Some final thoughts
Many pieces of jewelry are such great reminders of people, places and old memories. I have a couple of jewelry pieces from my grand mother, Ingvor, and I feel so connected to her when I wear them.
Take care of your jewelry memories and do what you can to honor what they stand for and where they came from. Give your jewelry some love and attention and you will be able to wear it for many, many years to come!
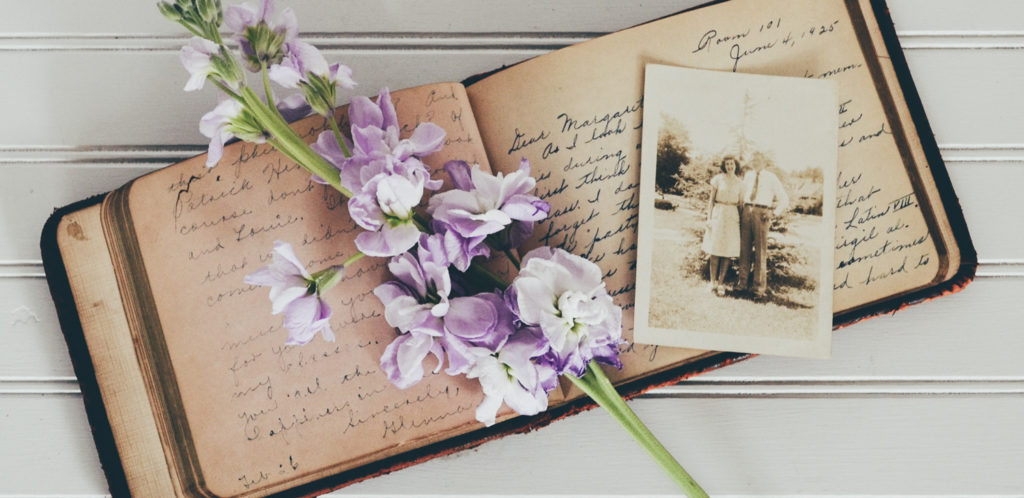
Hold on to your memories…
Have a wonderful day and always be good to yourself!
Love, love,
Nilla

